Showing posts with label Sewing. Show all posts

Friday, May 24, 2013

Kid's Shorts Tutorial

As I get ready for summer and inventory my 4 year olds clothes, I discover that there are only 2 pairs of shorts. She has plenty of skorts, but I like her to wear shorts under her dresses when she is playing and 2 pairs is just not going to cut it. My mom suggested I make some shorts for her. I decided to give it a try. The cheapest I was going to find them was $6.00 a pair anyway.

So I went shopping with my daughter and she picked out three different prints: ladybug, pink polka dot, and print you will see in this tutorial. 

Materials list: 
  • A yard of fabric will make 3 pairs of shorts for a 5T size and smaller
  • Scissors or cutting tool
  • Elastic (I used 1/2 inch but it really is a preference)
  • Pattern 
  • Sewing machine
  • Matching color thread

First you need to make a pattern. The shorts I modeled after are Carter's brand. They are much shorter than I wanted and are tighter than what I wanted. I just adjusted taking into consideration the seam allowance and the casing on the top of the shorts.

When you look at your shorts, you will notice the back is slightly different than the front. The crouch is slightly longer.
Cut two front and two back


Put front right sides together and sew the crouch together. I surge but I would zigzag if you don't have a surger.
Do the same for the back sides
Open to look like shorts
Pin right sides together at crouch area after opening up
Surge or zigzag crouch

Pin right sides together and sew down the sides. I again surge but a straight stitch is fine.


Hem the leg openings
Iron a casing for the elastic. Make sure your elastic will fit. I then sew an embroidery stitch on one layer of the back so my daughter can find the back. Make sure it's just the top layer or you won't be able to put your elastic through.
Sew the casing. Leave a small opening to put your elastic in. I put a safety pin on the elastic to help weave it through.
Once it is weaved through I sew the elastic together and close the casing. To keep the elastic in place you can do a small straight stitch on the sides


She loves her new shorts!


Tuesday, May 21, 2013

Cute Summer Dress Pattern

I love sewing clothes for my girls. When I came across this free pattern from The Cottage Home I knew I had to try it. It was so easy and took me about an hour from start to finish. I did have to tweak the pattern to make it bigger. I needed a 5T size. The pattern is for 12 months to 4T.

I made two of these. The first was out of fabric my mom had given me. I didn't have enough for a ruffle so I had to buy some extra fabric. My daughter requested yellow and that her dress touch the floor so I tweaked the ruffle to accommodate her requests. 

The second dress is pictured above. It turned out great but I will never buy that kind of fabric again. They have little sparkles on it and you can't iron it directly. I had to place a towel on top to iron and it was a pain.
 

Thursday, April 25, 2013

Pillowcase Grocery Bags

You may have seen these pillowcase grocery bags out there on places like Pinterest. I made a few about a year ago and really like them. Who doesn't have a few extra pillowcases laying around. I looked at few different tutorials and finally figured out the easiest way to make them. I'm sure there is one exactly like my tutorial, so I do not claim credit for creating it.

All you need is a pillowcase, scissors, and sewing machine. 

1. Cut the edging off the pillowcase and save it for later
  2. Turn pillowcase inside out and stitch it closed leaving about 2 inches open to turn it.

3. Turn and stitch opening closed
 
 4. Grab the middle and tuck it in creating a bag. Match corners up tightly.
 5. Sew diagonal on the bottom corners about one inch 
6. Take the edging piece you cut off earlier and cut it into two. Pin into place to make handles. I have mine about 3-4 inches from edge but place where you want them to be.
7. Sew into place
8. Turn and your done!
 

 Our grocery store gives 5 cents for every reusable bag. Ask your grocery store if they have something similar.
 

Monday, April 15, 2013

Save money: make your own Barbie clothes


My 4 year old received her first Barbie two years ago for Christmas. At first it never really got played with but now that is almost all she plays with. Her 2 year old sister is starting to love Barbies too. The clothes the dolls came with don't look so good. Some are just plain falling apart. The Barbie clothes are so expensive and many outfits, I don't feel, are appropriate for my little ones, so I thought about getting a few patterns to make some myself.

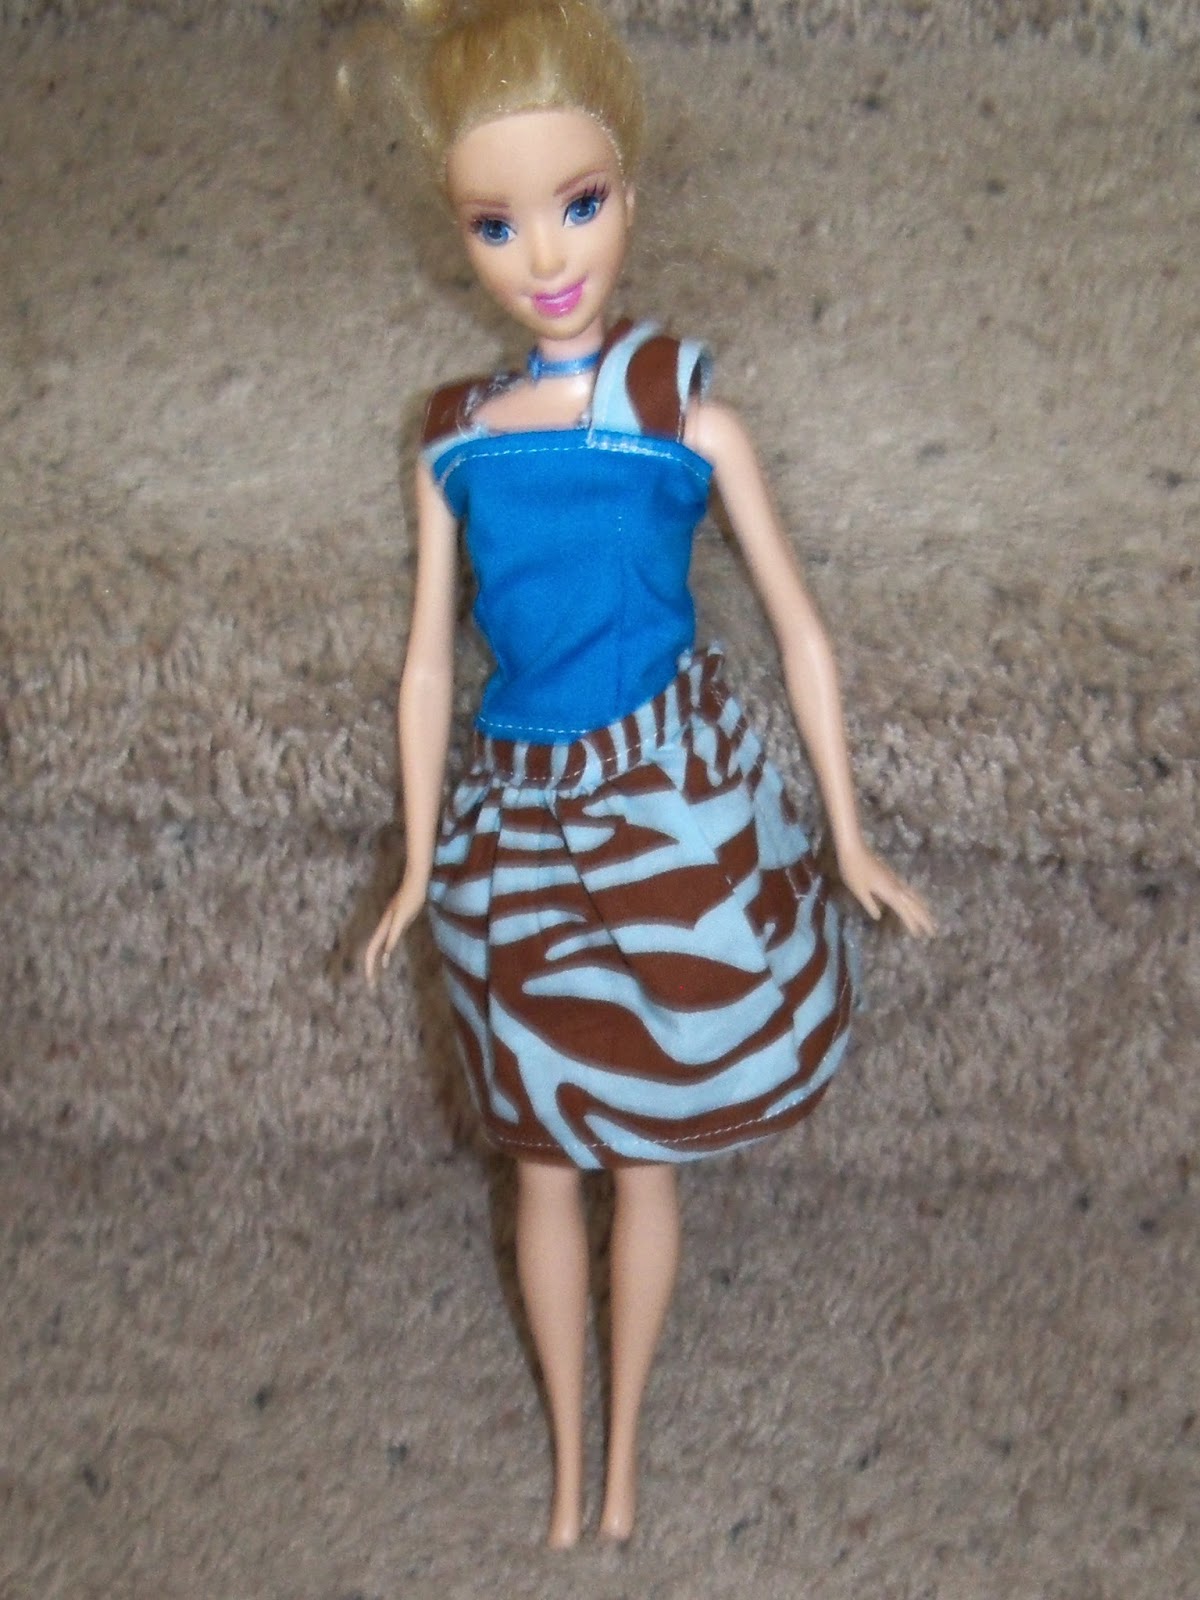
One day, while searching Pintrest, I came across a pin about how to make Barbie clothes on craftinessisnotoptional.com. After checking it out I thought it was great, so I dug out scrapes and decided to try it. The tutorials were so incredibly easy to follow and the clothes came out looking great. I made some dresses to match the girls' Easter dresses and they went in their Easter baskets. Then I made several dresses, a couple skirts, and a shirt.

The clothes are small so they aren't the easiest to sew. Barbie clothes aren't for beginners but if you've sewed clothes for yourself or kids before, these will be extremely easy to do. 

My daughters love the new Barbie clothes and can put them themselves. My oldest keeps asking for more clothes for her Barbies. She loves to change them into new clothes frequently.


 My 4 year old and 2 year old were very excited when I asked them to take some pictures of their Barbies and all their new clothes. The pictures are all linked up to the tutorial for those clothes.
Cap sleeve shirt and skirt

Formal/Ball Gown Dress

Shortened Formal/Ball Gown

Dress


Dress